
The Process of Mobile Windshield Replacement
the Step-by-Step Process of Mobile Windshield Replacement
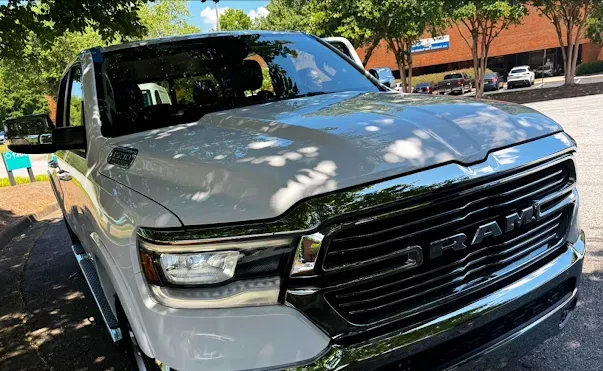
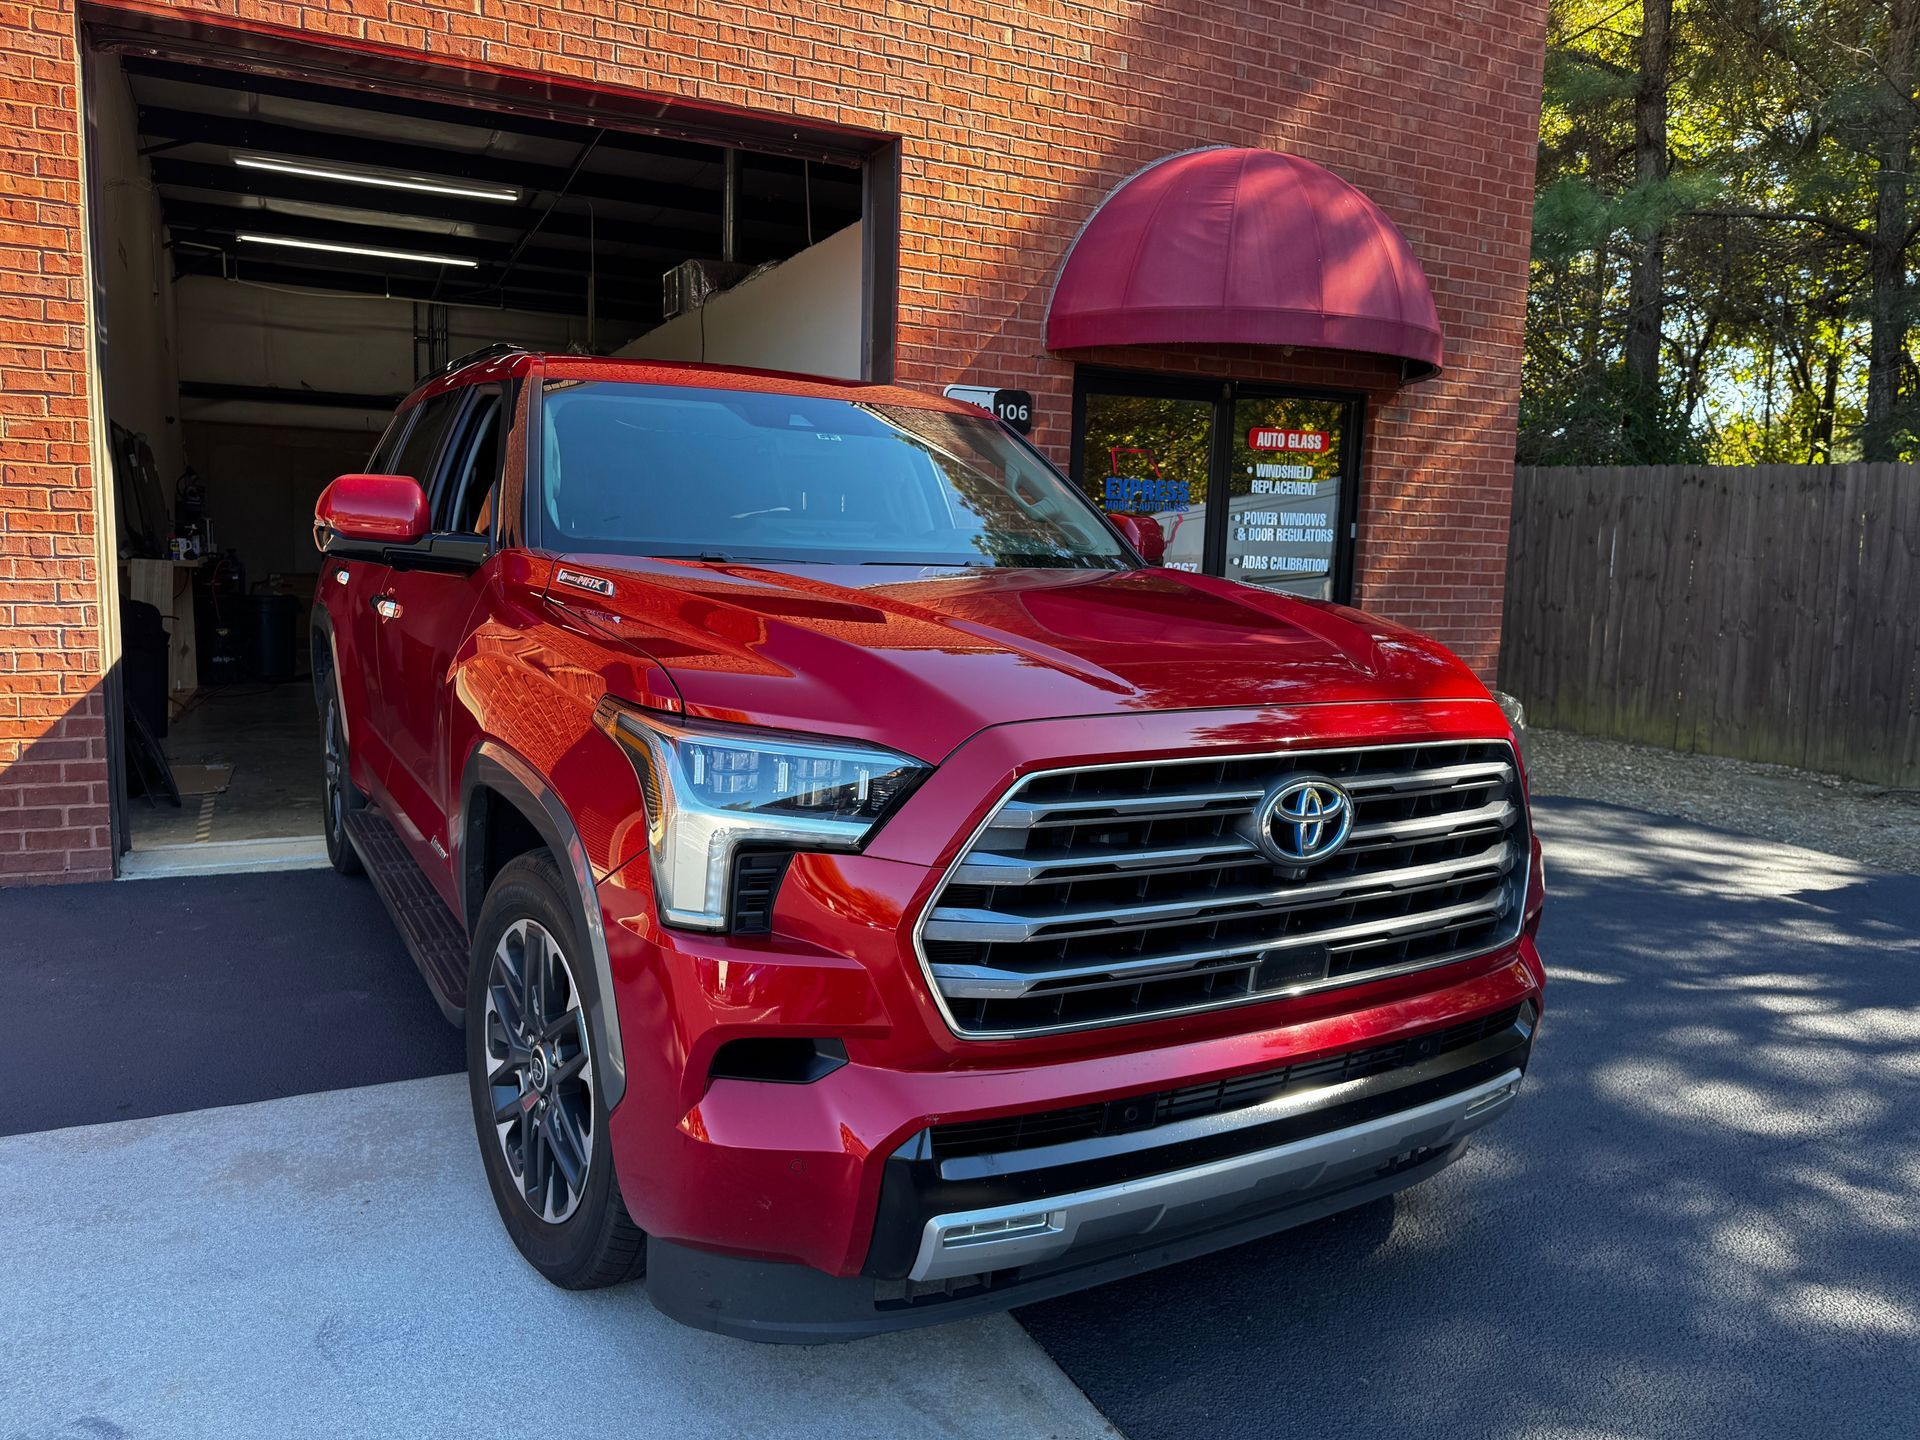
When your windshield is cracked or damaged, it can be more than just an inconvenience; it can compromise your safety. Fortunately, mobile windshield replacement services offer a fast, convenient solution without requiring you to leave your home or office.
Whether you’ve been in a minor accident or your windshield has been chipped by flying debris, mobile windshield replacement services ensure your vehicle is safe to drive again with minimal disruption to your day. Here’s a step-by-step look at how the mobile windshield replacement process works and what you can expect from start to finish.
Step 1: Contacting a Professional
The process begins when you contact a mobile auto glass service provider. Many companies allow you to schedule service by phone or through their website. You’ll typically need to provide some basic information, such as:
- Your vehicle’s make, model, and year
- The type and location of damage
- Your insurance information (if applicable)
- The location where you’d like the service to take place
Most auto glass services will verify whether your vehicle requires a full windshield replacement or if a repair is possible. If the crack in your windshield is larger than a dollar bill, the chip is larger than a quarter, or the damage is located in the driver’s line of sight or along the edge of the windshield, replacement is usually the recommended solution.
Step 2: Insurance
If you plan to file a claim through your auto insurance, the service provider may work directly with your insurance company to streamline the process. Many insurance policies cover windshield replacement with little or no out-of-pocket cost, especially if you have comprehensive coverage. The provider can help confirm your coverage and handle billing with your insurer directly.
Step 3: Assessment
On the day of your appointment, a certified auto glass technician will arrive at your location with all necessary tools and materials. The technician will:
- Inspect the damage to confirm the need for replacement
- Review the service details with you via a free quote
- Take steps to protect the vehicle’s interior and surrounding area
They’ll typically begin by placing protective coverings over your dashboard and hood to avoid scratching or staining any surfaces during the process.
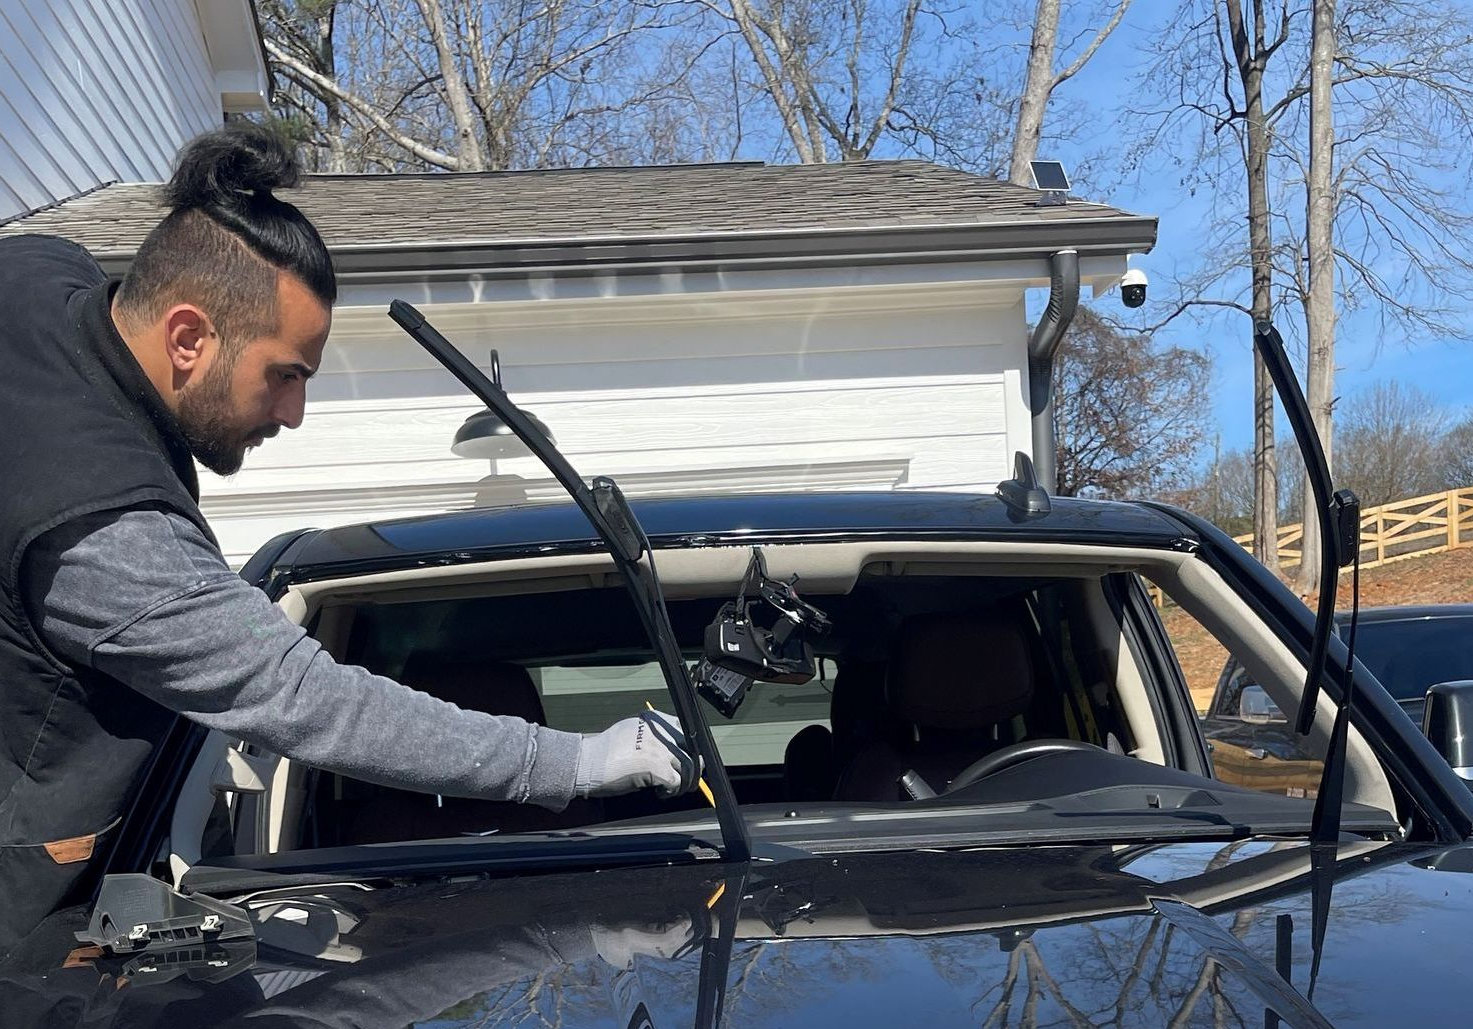
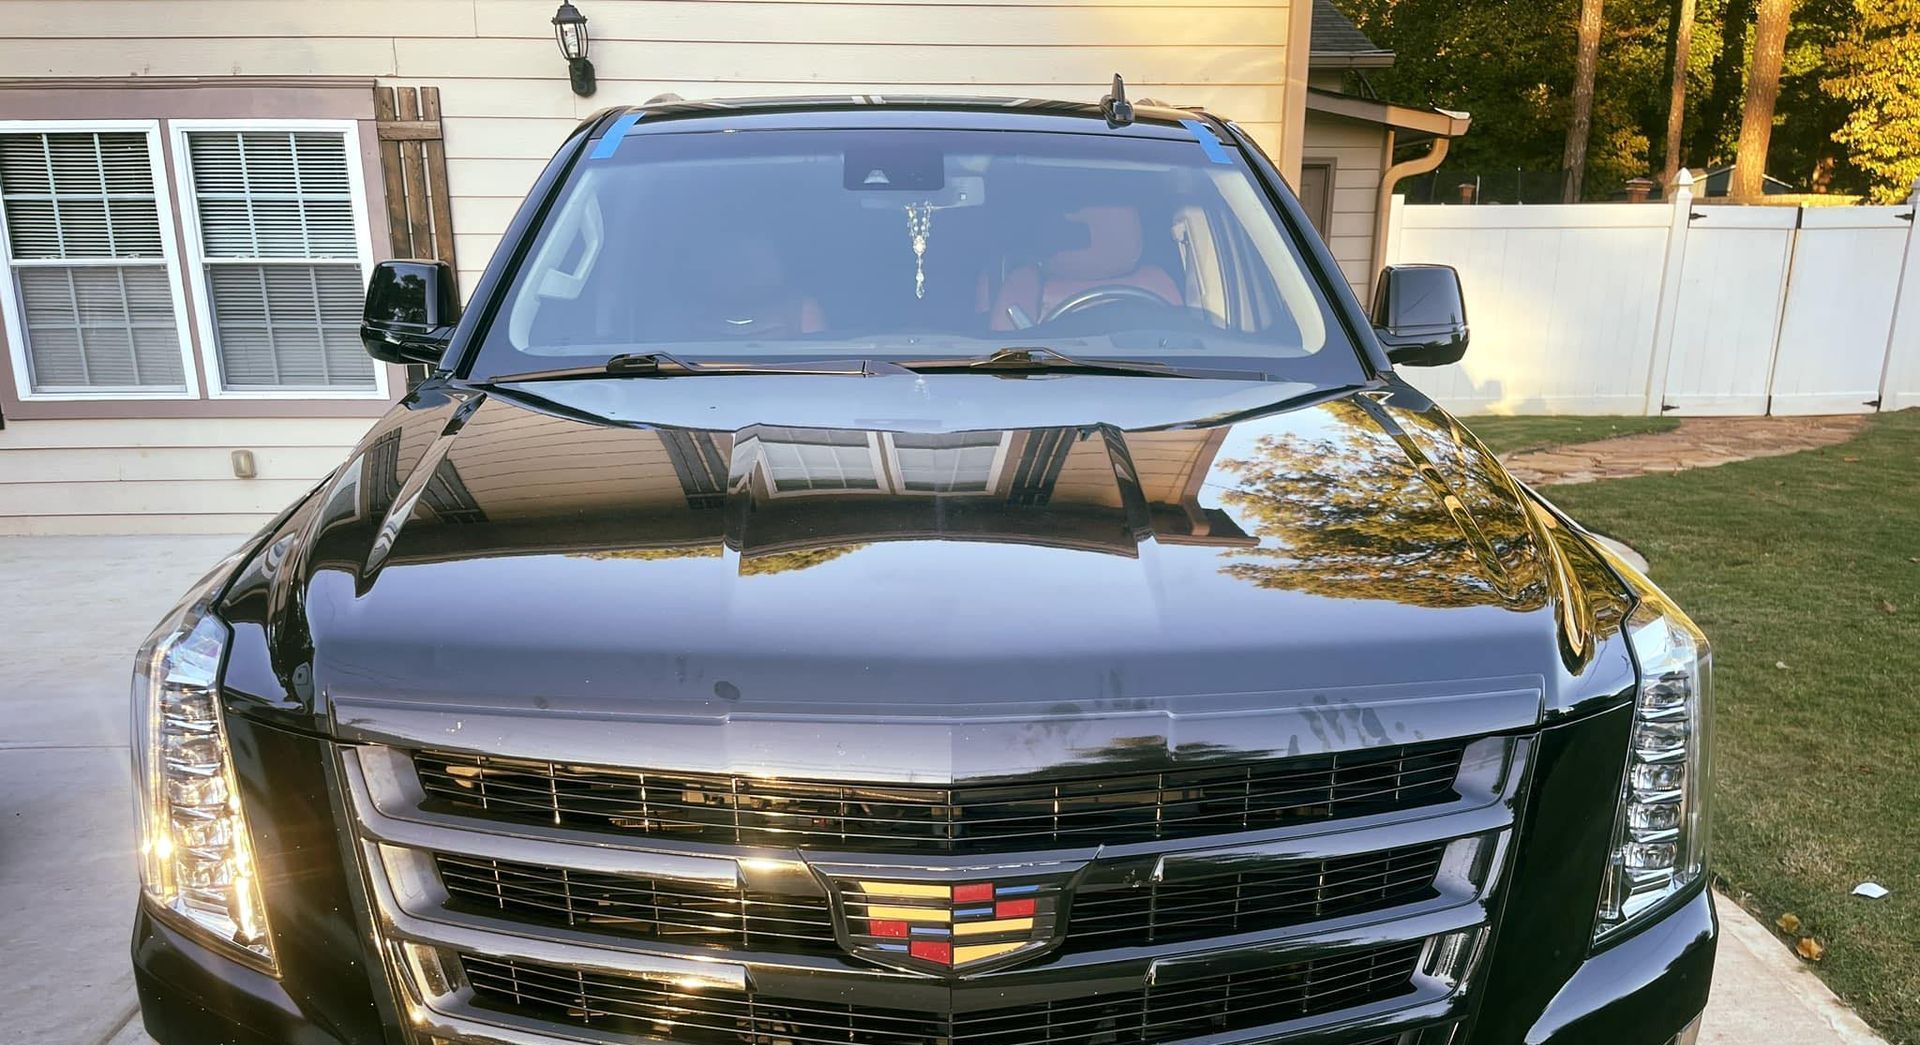
Step 4: Removing Your Existing Windshield
Next, the technician carefully removes the damaged windshield. This involves:
- Detaching the windshield wipers and any moldings or trim
- Cutting away the urethane adhesive that holds the windshield in place
- Lifting out the old windshield using specialized tools
This step requires precision to avoid damaging the vehicle’s frame or paint. Once the glass is removed, the technician will thoroughly clean and prepare the pinch weld (the area where the new windshield will be installed). Cleaning the pinch weld is essential to obtaining a proper seal for your new windshield installation.
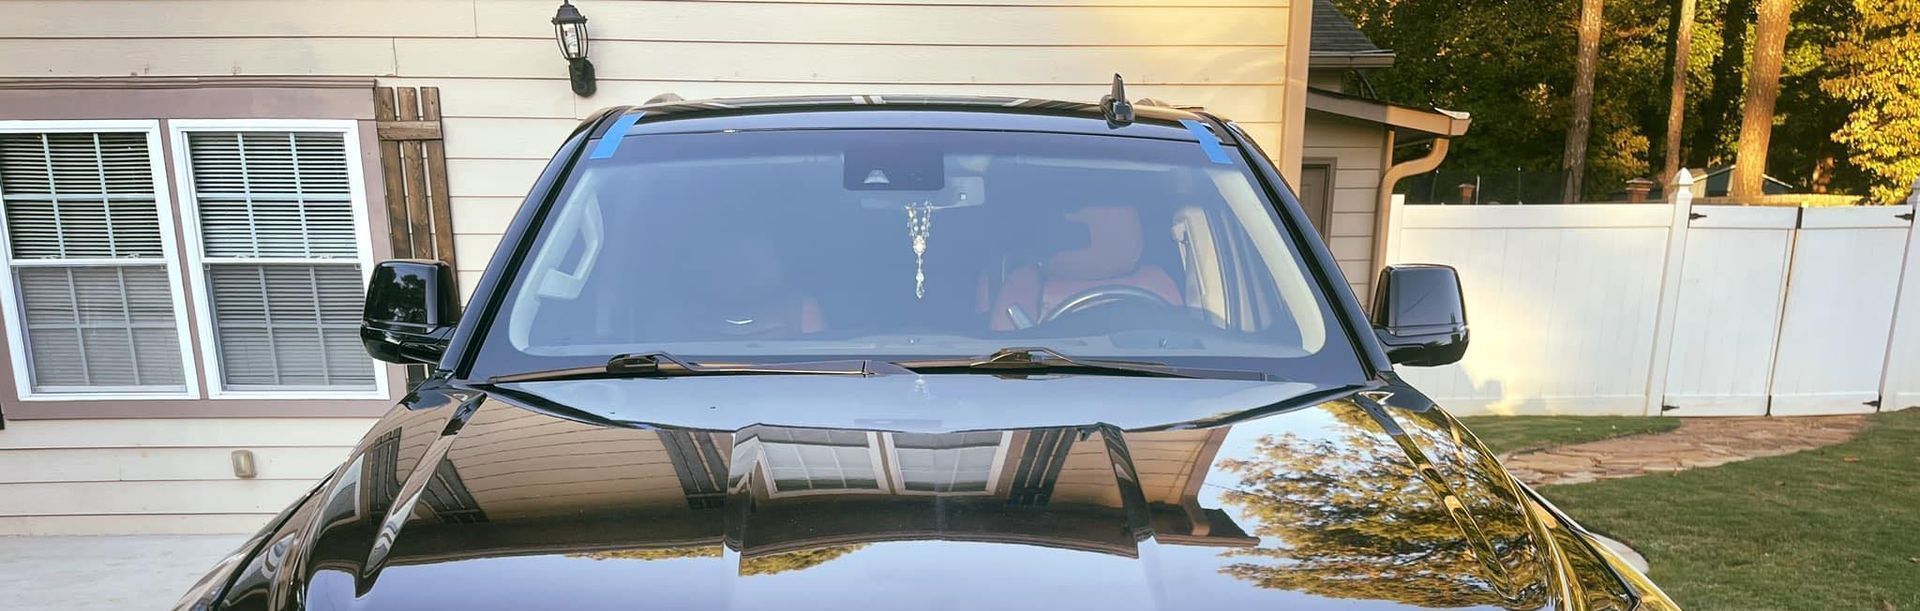
Step 5: New Windshield Installation
The new windshield is fitted using fresh, high-quality adhesive. The technician will:
- Apply a primer to ensure proper bonding
- Use a professional-grade urethane adhesive around the edges
- Carefully position and set the new windshield into place
Proper alignment is crucial to ensure a snug, leak-free fit. Choosing an OEM windshield can also help ensure a tight fit for your replacement. Once installed, the technician will reattach the trim and wipers and clean the new glass inside and out.
Step 6: Safe Drive-Away Time
After installation, the adhesive must cure before you can safely drive the vehicle. This is known as the “safe drive-away time,” and it varies depending on the type of adhesive used and the current weather conditions. In most cases, the curing time ranges from 30 minutes to a few hours.
Your technician will let you know when it’s safe to drive and provide any aftercare instructions to help the adhesive set properly, such as avoiding high-pressure car washes or slamming doors for the first 24 hours.
Step 7: ADAS Calibration
If your vehicle has safety features such as lane keep assist or forward collision warning, it is equipped with ADAS (Advanced Driver Assistance Systems). This technology is often built into your windshield, which means it will need calibration after your windshield replacement.
A certified auto glass technician will use specialized tools and technology to properly align your ADAS technology and calibrate it precisely to ensure the accuracy of your safety features. Another type of ADAS calibration, called dynamic calibration, will require your auto glass technician to take your vehicle on the road and expose the ADAS technology to road markings and signs to calibrate it. Want to learn more about ADAS technology? Click here to read our recent blog.
Step 8: Final Inspection
Before wrapping up, the technician will conduct a final inspection to ensure:
- The windshield is correctly installed and sealed
- There are no visible defects or issues
- The area is clean and all tools are removed
You’ll receive documentation for the service, which may include a warranty for the glass and installation.
Do You Need a Windshield Replacement in the Grayson, GA Area?
A damaged windshield should never be ignored, but with mobile services, getting it replaced is easier than ever. You get the same professional quality as an in-shop service—without having to leave your home or office. If you need a
windshield replacement in the
Lawrenceville,
Grayson, or
Norcross, GA areas,
contact Express Mobile Auto Glass for a free quote today. We offer a lifetime warranty on all work completed and work with your
insurance to ensure a smooth process.